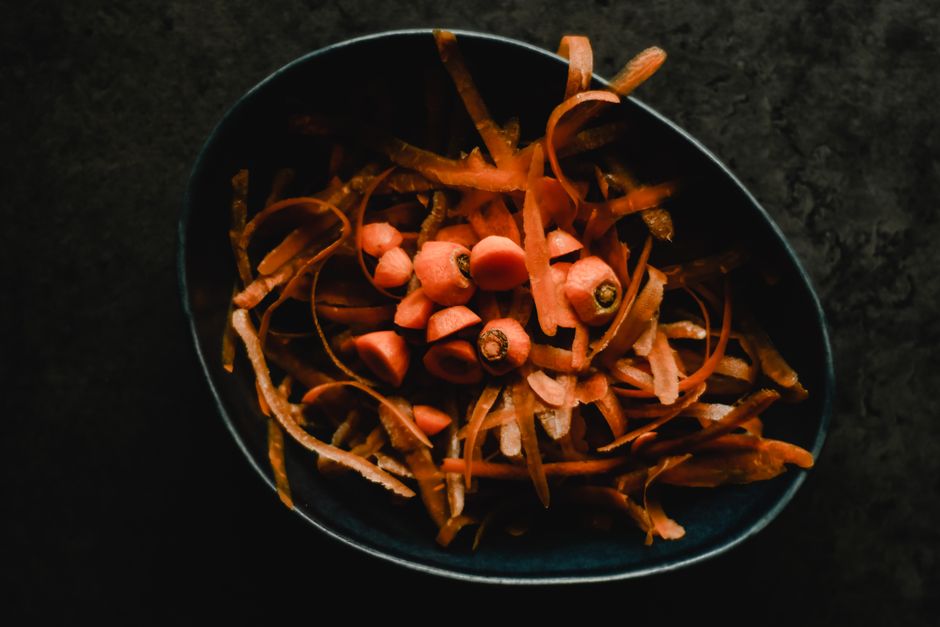
Zero-Waste Cooking: Vegetable Scraps to Make Broth
In the pursuit of a more sustainable kitchen, the practice of turning vegetable scraps into broth stands out as a practical and resourceful method. Many households discard peels, ends, and skins that still carry flavor and nutrients. By collecting these remnants and simmering them with water, one can produce a flavorful base for soups, stews, and grains. This approach aligns with the principles of zero-waste cooking, which emphasizes using every part of the ingredient to minimize food waste and maximize value.
The process is straightforward: save clean vegetable scraps, store them properly, and combine them with aromatics and water to create a versatile broth. Not only does this reduce the amount of organic waste sent to landfills, but it also offers an economical alternative to store-bought stocks. Understanding which scraps work well and how to handle them ensures a quality result. This article explores the methodology behind making broth from vegetable scraps, from choosing suitable ingredients to storing and using the final product.
Selecting Suitable Vegetable Scraps
The foundation of a good broth lies in the selection of scraps. Not all vegetable remnants are appropriate; some can impart bitter or overpowering flavors. Ideal candidates include peels from carrots, potatoes, onions, and garlic, as well as the outer leaves of celery, leek tops, and mushroom stems. These ingredients contribute a savory depth and a pleasant aroma. It is advisable to avoid scraps from cruciferous vegetables like broccoli, cauliflower, and cabbage, as they can turn the broth bitter and sulfurous. Similarly, beet peels may impart a strong earthy taste and a reddish hue, which might not suit every dish.
Hygiene is another critical factor. Scraps should be thoroughly washed to remove dirt and pesticide residues. Even if the peels are not destined to be eaten directly, they will be simmered and flavor extracted, so cleanliness is essential. Additionally, any bruised or spoiled parts should be trimmed away, as they can introduce off-flavors. The scraps can be used immediately or collected over time in a designated container in the freezer. Freezing preserves their freshness and allows for accumulation until enough material is gathered for a batch.
When building a scrap collection, it is helpful to consider the balance of flavors. A mix of sweet, savory, and aromatic components will produce a well-rounded broth. For instance, carrots and onions offer sweetness, celery provides a mild savoriness, and garlic adds a subtle pungency. Some cooks also include herb stems, such as parsley or thyme, which infuse a gentle herbal note. By maintaining a varied collection, the resulting broth will be more complex and versatile.
Storing and Preparing the Scraps
Proper storage is key to maintaining the quality of the scraps until they are ready to be used. An airtight container or reusable freezer bag works well. As scraps are added, it is important to remove excess air from the bag to prevent freezer burn. Many cooks keep a dedicated container in the freezer, adding to it throughout the week. It is a good practice to label the container with the date and types of scraps included, especially if one wishes to control the flavor profile.
Before simmering, the scraps should be thawed if they were frozen. They can be placed directly into the pot with water; the heat will quickly bring them to temperature. Some prefer to rinse the scraps again after thawing to remove any ice crystals or residual debris. Additionally, cutting larger pieces into smaller chunks can increase the surface area, facilitating better extraction of flavors. However, this is optional and depends on the size of the scraps.
When preparing to make broth, the ratio of scraps to water is a matter of personal preference, but a common guideline is to fill a pot about halfway with scraps and then cover them with water. The exact proportions can be adjusted based on how concentrated a broth is desired. If one prefers a lighter broth, more water can be added; for a richer flavor, fewer scraps and longer simmering can be used. The key is to ensure that the scraps are fully submerged to allow for even extraction.
The Simmering Process
The process of making broth from scraps involves a gentle simmer, not a rolling boil. Boiling can cause the broth to become cloudy and may extract bitter compounds from the peels. Instead, bring the water to a boil initially, then reduce the heat to a low simmer. This gentle cooking allows the flavors to meld without agitation. The length of simmering can vary, but a typical range is between 45 minutes and two hours. Longer simmering can result in a more concentrated flavor, but it may also intensify any undesirable notes from tougher scraps.
During the simmer, it is beneficial to occasionally skim off any foam that rises to the surface. This foam consists of impurities and can make the broth cloudy if left to break down. The addition of aromatics, such as a bay leaf, peppercorns, or a sprig of thyme, can enhance the broth’s complexity. Some cooks also add a splash of apple cider vinegar, which is believed to help extract minerals from the vegetable matter. However, the vinegar should be used sparingly, as it can alter the taste.
After the desired simmering time, the broth must be strained to remove the solid scraps. A fine-mesh strainer or cheesecloth works well for this purpose. The liquid can then be cooled quickly to preserve its freshness. It is important to note that the nutritional content of the broth is modest, primarily consisting of water-soluble vitamins and minerals from the vegetables. The flavor, however, is the main benefit, and it can be used as a base for many dishes.
Storing and Using the Broth
Once strained, the broth can be used immediately or stored for later use. If refrigerated, it will keep for about four to five days. For longer storage, it can be frozen in portions, such as in ice cube trays or freezer bags. Freezing in portioned containers allows for convenient use of the desired amount without having to thaw a large batch. It is advisable to leave some headspace in the containers, as liquids expand when frozen.
The broth can serve as a cooking liquid for rice, quinoa, or pasta, adding a layer of flavor. It is also a suitable base for soups, stews, and sauces. When seasoning, it is important to keep in mind the salt content of the broth, which is likely minimal since no salt was added during the simmering process. Seasoning should be adjusted at the point of use to achieve the desired taste.
Using homemade scrap broth is a practical way to reduce food waste and save money on grocery purchases. It adds depth to everyday meals and encourages a more conscious approach to cooking. While the flavor of each batch may vary depending on the scraps used, this variability is part of the charm. By incorporating this simple method into one’s routine, the kitchen becomes a place of resourcefulness and creativity.